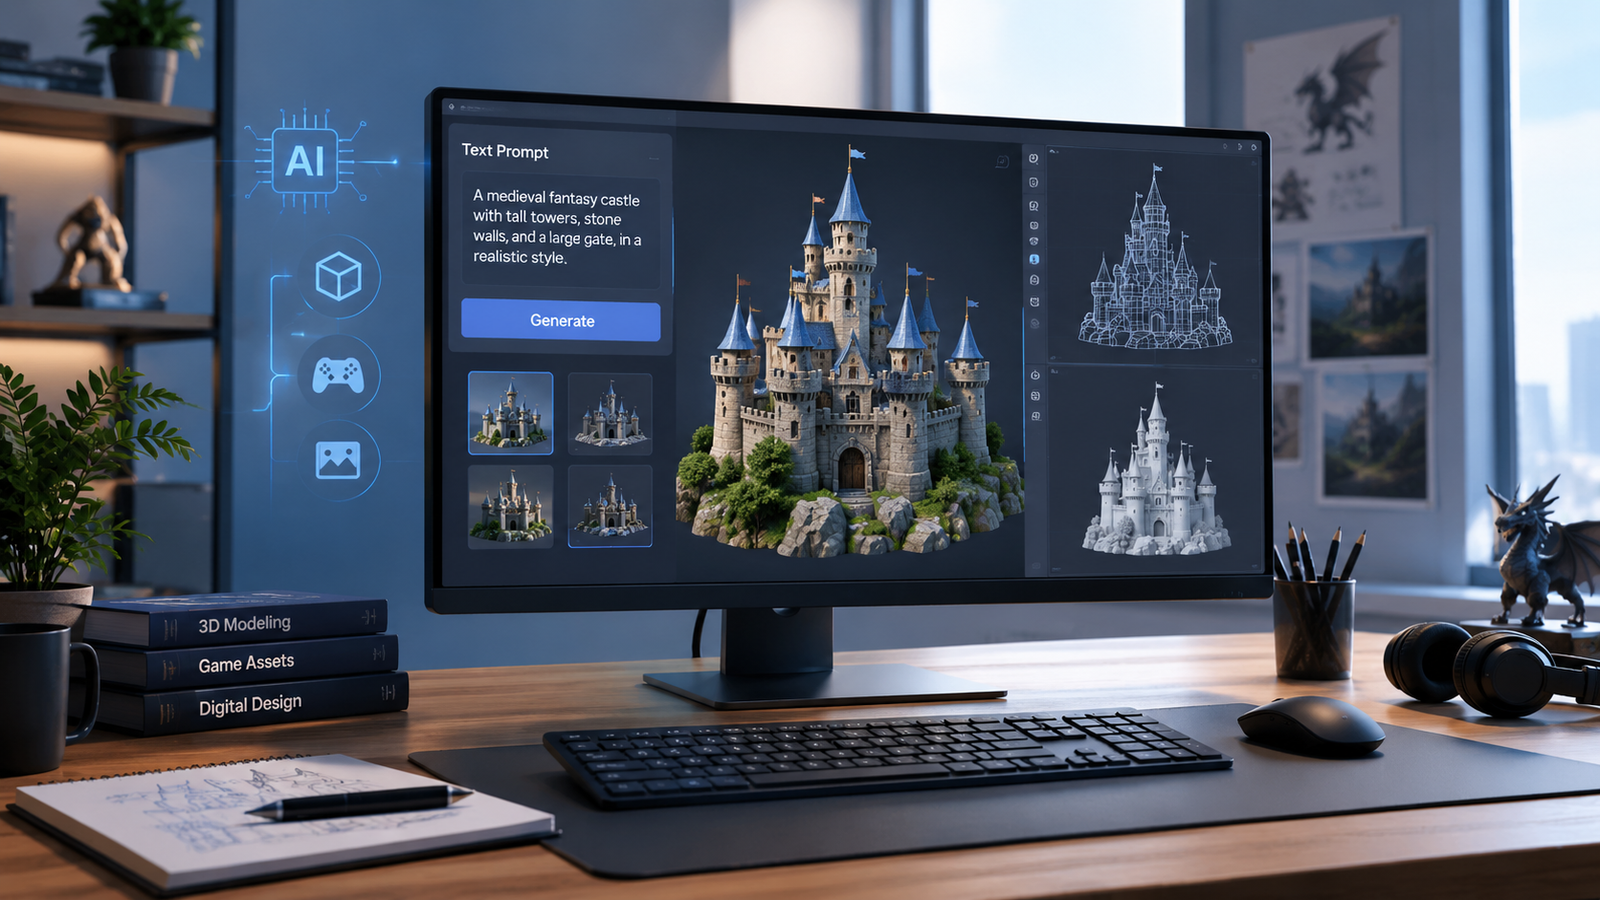
If you want to create a 3D model without spending hours learning traditional 3D modeling software, Bevelify can turn a text description into a 3D asset. The basic idea is simple: describe what you want, generate the model, inspect the result, and refine your approach when the output does not match your expectations.
The quality of your prompt matters, though. A short prompt such as “a sword” gives an AI model generator much less information than a description that explains the sword’s shape, material, style, proportions, and intended appearance.
In this guide, I’ll walk you through a practical beginner workflow for using Bevelify for text-to-3D modeling, including how to write better prompts, what mistakes to avoid, and how to get more useful results.
What Is Bevelify?
Bevelify is an AI-powered 3D model generation platform designed to simplify the process of creating 3D assets.
Instead of manually building every part of a model from scratch, you can describe an object and use AI to generate a corresponding 3D asset.
This approach can be useful for creators who need concepts, prototypes, game assets, visual experiments, product ideas, or other 3D content without starting every project with traditional polygon modeling.
For beginners, the biggest advantage is the reduced barrier to entry.
You don’t necessarily need to understand every modeling tool before experimenting with 3D concepts. You can start with an idea and turn that idea into something visual.
How Does Bevelify Text-to-3D Work?
The basic workflow is straightforward.
You provide a description of the object you want to create, and the AI uses that description to generate a 3D model.
Think of your text prompt as a design brief.
If your prompt contains only the object’s name, the system has to make many decisions for you. If you describe the important characteristics, you give the generator more direction.
A simple workflow looks like this:
- Decide what you want to create.
- Write a descriptive text prompt.
- Generate the 3D model.
- Inspect the result.
- Identify anything that needs improvement.
- Adjust your prompt or generation approach.
- Export or use the resulting asset according to your project requirements.
The first generation does not always have to be perfect. AI 3D generation works best when you treat the first result as part of an iterative process.
Step 1: Decide What You Want to Create
Before writing your prompt, define the object clearly.
Instead of starting with a vague idea such as “make a robot,” think about the specific object you actually need.
For example:
Basic idea:
A robot
Better concept:
A small futuristic exploration robot with four wheels, a compact metal body, a front camera, and a rugged industrial appearance.
The second description gives you much more control over the intended result.
You can define:
- Object type
- Shape
- Size or proportions
- Materials
- Colors
- Important components
- Design style
- Level of detail
- Intended use
You don’t need to describe every tiny detail. Focus on the characteristics that actually matter.
Step 2: Write a Better Text-to-3D Prompt
Your prompt is one of the most important parts of the process.
A useful structure is:
Object + shape + materials + important details + style + purpose
For example:
A futuristic sci-fi helmet with a smooth aerodynamic shape, dark metallic material, glowing visor, detailed mechanical panels, and a realistic game-ready appearance.
Compare that with:
Futuristic helmet
The first prompt gives the AI much more information to work with.
Example Prompts for Bevelify
If you’re experimenting with different types of assets, you can start with prompts like these:
Fantasy object:
A medieval fantasy shield with a round wooden body, reinforced metal edges, engraved symbols, leather straps, and a worn battle-tested appearance.
Game asset:
A stylized low-poly treasure chest with wooden panels, metal corners, a large front lock, slightly exaggerated proportions, and a colorful fantasy game aesthetic.
Product concept:
A modern wireless desktop speaker with a compact rectangular body, rounded edges, fabric front panel, minimal controls, and a clean contemporary product design.
Sci-fi asset:
A compact futuristic drone with four small propellers, a central camera, angular metallic panels, and a sleek high-tech appearance.
These prompts are specific without becoming unnecessarily complicated.
Step 3: Generate Your First Model
Once your prompt is ready, submit it through the text-to-3D workflow.
At this point, avoid trying to predict every possible problem before seeing the result.
Generate the model and examine what the AI understood from your description.
Ask yourself:
- Does the overall shape match my idea?
- Are the major parts present?
- Are the proportions reasonable?
- Does the material look appropriate?
- Is the model detailed enough?
- Are important features missing?
- Would I actually use this asset?
The goal of the first generation is not always perfection.
It gives you feedback about how well your prompt communicated the design.
Step 4: Evaluate the Generated 3D Model
This step is easy to skip, but it can save you a lot of time.
Don’t immediately assume that an attractive preview means the model is ready for every purpose.
Look at the object from different angles if the platform allows you to do so.
Pay attention to the major geometry.
For example, a character may look good from the front but have unusual proportions from the side. A vehicle may look impressive at first glance but have wheels or other components that don’t make practical sense.
For game development, product visualization, animation, or 3D printing, the requirements can also be very different.
A model that works as a visual concept isn’t automatically suitable for every production workflow.
Step 5: Improve Your Prompt
If the first result isn’t right, don’t simply repeat exactly the same prompt.
Identify the problem first.
Suppose you requested:
A futuristic motorcycle with a sleek design.
The result looks too bulky.
Instead of generating the exact same prompt again, make the desired change explicit:
A lightweight futuristic motorcycle with a narrow aerodynamic frame, slim wheels, compact body panels, and a sleek high-performance design.
You can also remove ambiguity.
If you want a simple stylized object, say so.
If you want a realistic object, describe the materials and design characteristics that support that style.
The Most Useful Prompt Improvement Rule
Describe what you want to see, not just what you want to name.
“Castle” is a category.
“A massive medieval stone castle with tall defensive towers, arched entrances, weathered walls, and a large central gate” is a design description.
The second gives the generator a much clearer target.
Common Bevelify Text-to-3D Mistakes
Using Extremely Short Prompts
A prompt containing only one or two words gives you limited control.
Short prompts can be useful for experimentation, but detailed prompts are generally better when you have a specific result in mind.
Adding Too Many Conflicting Instructions
More words don’t automatically mean a better model.
If your prompt describes a low-poly cartoon object while simultaneously requesting photorealistic micro-details and several conflicting styles, the result may become unpredictable.
Keep the design direction consistent.
Expecting the First Generation to Be Perfect
AI-generated 3D assets can require experimentation.
Instead of abandoning the process after one disappointing result, identify what went wrong and adjust the prompt.
Ignoring the Intended Use
Think about what you’re going to do with the model.
A model for a game, animation, 3D print, product visualization, or concept presentation may have different requirements.
Your generation goal should influence your prompt and your evaluation process.
How to Get Better Results From Bevelify
If you’re new to AI 3D generation, focus on clarity rather than complicated wording.
Here are a few practical tips:
- Start with the main object.
- Describe its most important features.
- Mention the desired style.
- Specify important materials.
- Avoid conflicting instructions.
- Generate and evaluate before changing everything.
- Improve one problem at a time.
- Keep successful prompts for future projects.
- Think about the final use of the asset before generating it.
A simple prompt that communicates a clear idea is usually more useful than a huge paragraph filled with unrelated adjectives.
What Can You Create With Text-to-3D?
The possibilities depend on your project and the type of assets you need.
You can experiment with ideas such as:
Game Assets
Create concepts for weapons, props, furniture, vehicles, buildings, environmental objects, and other game-related assets.
Product Concepts
Use AI-generated 3D objects to explore product ideas before investing time in detailed traditional modeling.
Creative Projects
Artists and designers can experiment with unusual objects, characters, props, fantasy items, and science-fiction concepts.
Prototypes and Visualization
A generated model can help communicate an idea visually before you create a more refined production asset.
The important distinction is that AI generation can accelerate ideation, but the generated model may still require additional work depending on the final application.
Is Bevelify Good for Beginners?
For someone who wants to experiment with AI-powered 3D generation without immediately learning a complete traditional modeling workflow, Bevelify can be an approachable starting point.
The biggest learning curve is often not the interface itself but learning how to describe an object effectively.
Once you understand how to write useful prompts and evaluate the generated results, you can move much faster.
You should still learn basic 3D concepts if your goal is professional production. Understanding geometry, materials, topology, textures, scale, and file formats will help you judge AI-generated assets more effectively.
Final Thoughts
Learning how to use Bevelify to create 3D models from text is less about writing the longest possible prompt and more about communicating a clear design idea.
Start with a specific object, describe its important characteristics, generate the model, and carefully inspect the result. If something is wrong, improve the prompt rather than starting over without understanding the problem.
For beginners, this workflow provides a simple way to experiment with AI 3D model generation and text-to-3D creation while gradually developing a better understanding of what makes a useful 3D asset.
